1. Navigate to Case View, Select the Emails Tab.

2. Click on the "Copy the case id to clipboard"

3. Compose the Email, Paste the copied id to the Subject, Send the mail to the configured email.

4. Click on the refresh button or wait for the email to sync automatically
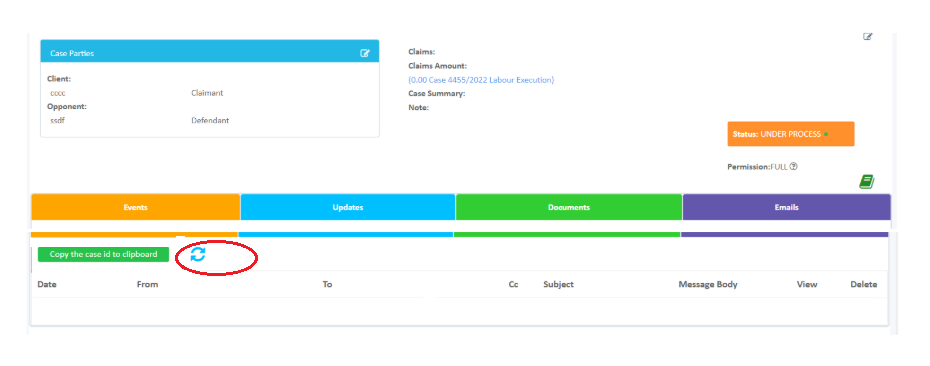
5. Email is now shown as below. Click on the eye button to view mail body

Related articles:
- For Microsoft emails (Office 365), please refer to this documentation for configuration steps:
https://documentation.casengine.app/support/solutions/articles/61000314661-app-registration-email-365
- For other email providers that support POP3, kindly follow this guide:
https://documentation.casengine.app/en/support/solutions/articles/61000316050-email-configuration
Was this article helpful?
That’s Great!
Thank you for your feedback
Sorry! We couldn't be helpful
Thank you for your feedback
Feedback sent
We appreciate your effort and will try to fix the article